
Sage 300 Newsletter – December 2015
Keeping You Up-To-Date With Information About Sage 300
Sage 300 Tips and Tricks: Searching in Sage 300 – Advanced!
Sage 300’s Finder, available anywhere you see the  button, is fundamental and enormously flexible. The finder will help you locate records quickly and accurately.
To activate the Finder in a field, click the  button, or press the F5 key. A finder window specific to that field will appear and will allow you to search in various ways. For example you may search for a vendor by vendor name, address, phone number etc.
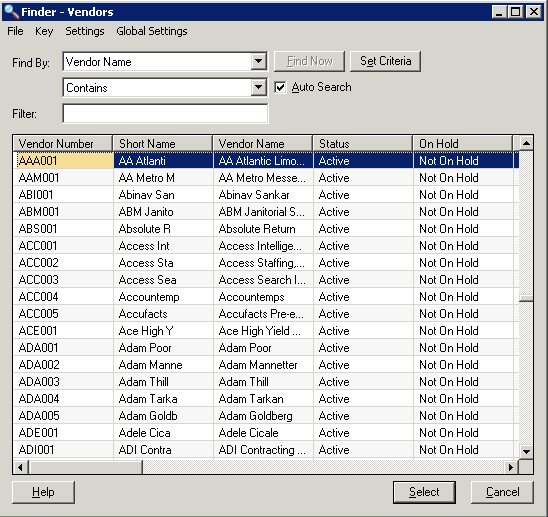
In addition to searching by a particular field, you can narrow your search through the use additional Criteria. To do this, click the Set Criteria button on the Finder screen.

Choose the criteria and press the Add button. You can choose any field available and search for particular values or matches (you can even choose multiple criteria, like Status = Active AND Start Date >= 01/01/2015).
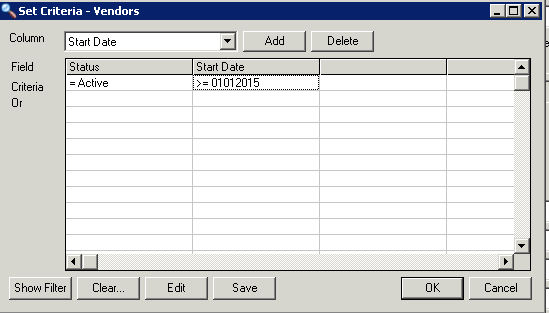
Sage 300 will remember the Finder settings from the previous search, including the fields you searched by and any specified Finder Criteria, the next time you click the button on the Vendor field. This is helpful if you want to see a list of Vendors created this year. Sage 300 remembers these settings separately for each user, as well as separately for each company database.
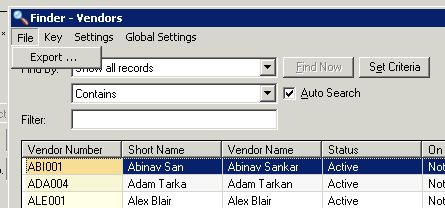
After setting your selection criteria, you may want to export your resulting vendors. This is done in the finder window by selecting File/Export.
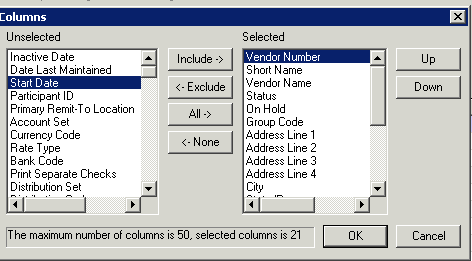
If your field is not available for criteria selection Add the field to the finder list. To do this choose Settings from the Finder menu.
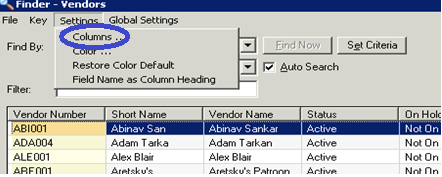
Choose Columns and select Start Date then Include to add to the Selected column.
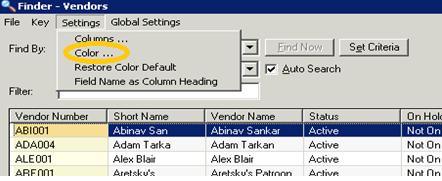
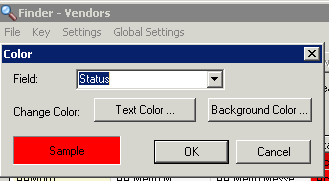
Changing the Color of the field is another available option in the Settings menu. To select Color you will be given the option to change the color of the text and/or the color of the background of any of the displayed columns.
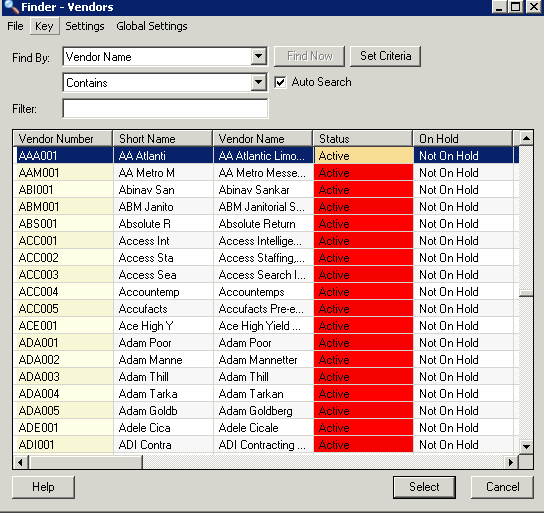
For this and other cool ways to personalize you Sage 300 finder and screens contact us.


