
Sage 300 Newsletter – December 2015
Keeping You Up-To-Date With Information About Sage 300
Sage 300 General Ledger Year End Steps
Before we begin the year end process, a good backup is ALWAYS the first step! After making that all important backup, the new calendar year must be created. Do this by opening Common Services and select Fiscal Calendar. Click on the New button next to the Fiscal Year field, then click the Save button.
It is always a good idea after creating a New Year to lock all periods of your current fiscal year to prevent accidental postings except for Period 13 if you have not completed your Year End. For your future year, lock all periods except Period 1 since you will have some transactions to post in Period 1. To quickly do this, double click on “Lock All”, then double click on “Unlock Column” under the period 1 column.
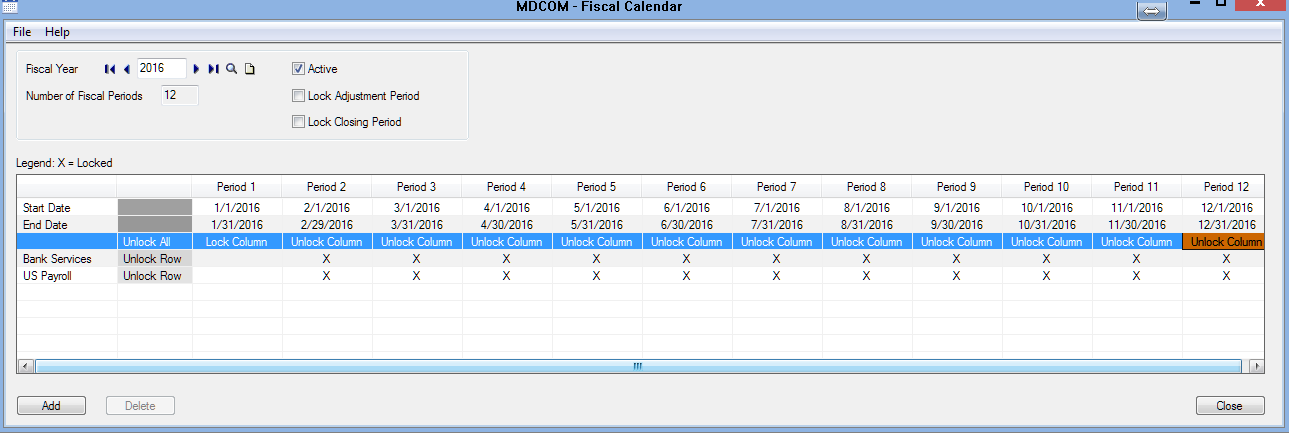
It’s important to remember that after adding the New Year, transactions can be posted to the New Year from the Subledgers (AP, AR, IC, etc.) but NOT from General Ledger until you complete the “Create New Year” function shown below.
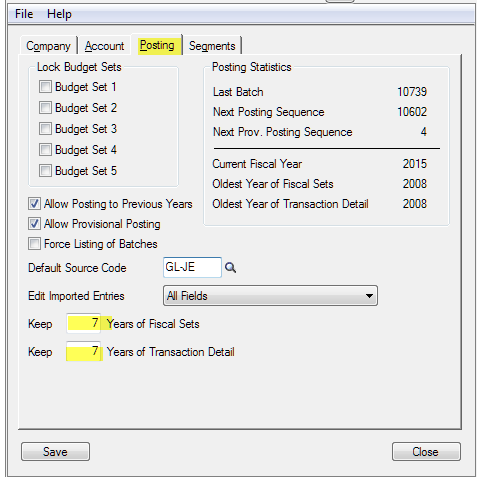
When you create a New Year, it opens the accounts for the next year, removes history depending on what you setup in GL Setup/Options, creates and posts entries that transfer the balances of income and expense accounts to retained earnings and changes the current fiscal year to the following year. The print screen below is an example of what history will be kept for this particular company.
Before you begin your GL Year End, make sure that transactions from all Subledgers and all journal entries are posted.
Your Batch List may have a mixture of current and future batches. Post any current year transactions. You will not be able to post any future transactions because Year End/Create New Year has not been completed. If you do try to post to a future year end, you will get an error message. The posted batch will be added as a new batch with a batch description of ERROR Batch. However, Year End/Create New Year can still be performed and these ERROR batches can be posted once the New Year has been created.
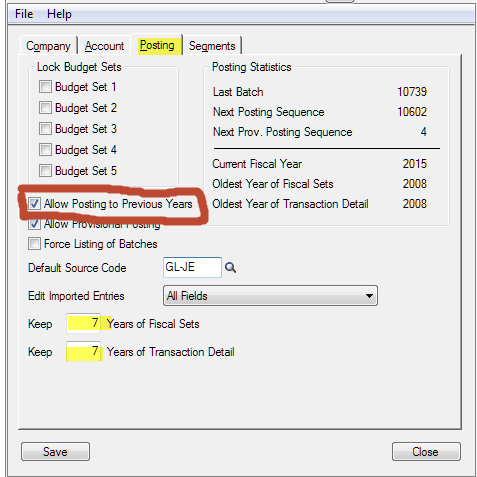
How are the additional transactions handled for the last year? These can still be posted to the prior year if the setting to Allow Posting to Previous Years is selected in GL Setup/Options/Posting.
Next print any outstanding trial balance and financial reports as well as print and clear any posting journals (this is optional).
Before proceeding to the next step, another backup is a good idea as the next step is a critical one. A database dump is a good method for performing a backup. Data base dump is found under “Administrative Services”. See the online help for instructions on running this if you’re unfamiliar with it or give us a call and we’ll be happy to assist.
Now that the backup has been done, proceed to the next step of Creating a New Year by selecting under G/L Periodic Processing, Create New Year.
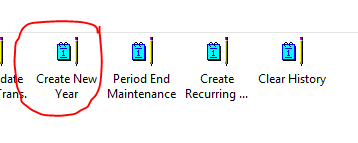
When you click on this icon, you will see the following screen:
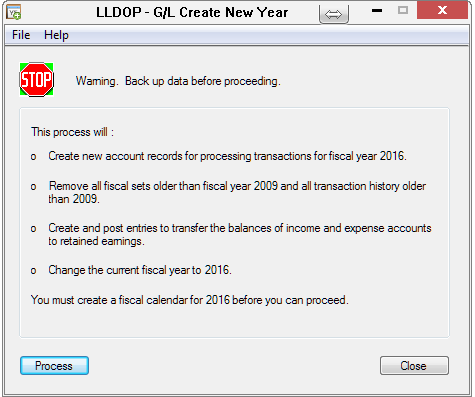
This screen outlines what creating a New Year in G/L will do. Since you have created the fiscal calendar for the New Year and also have done a backup, click on Process.
Create New Year does not have to be run again for the current year. This process should only be performed once a year even if you have posted transactions to the prior year. When a transaction for a prior year has been posted in GL, Sage 300 automatically transfers any incoming expense or revenue balances to retained earnings thus keeping the balances correct.
Finally, in Administrative services, a Data Integrity Check should be run after all Year End processes have been completed. A Database Dump and Database Load should be performed as well (useful when data has been purged from the system). These reduce the size of the databases and re-indexes tables to provide a more efficient database.
As always, if you need any assistance with this, just let us know!


