 Importing Data to Update Fields in Sage X3

In this blog, we will show how to use the data templates of Sage X3 to update data in your system. In this example, we will be setting the 1099 flag on the supplier records included in the spreadsheet. When executing these kinds of operations in Sage X3, it is important to always test in a pilot or test folder before executing the steps in production. And always do a data backup before executing these imports in your production folder.
We begin by creating a template to assist in updating the 1099 box. We have named the new template SUPPLIERS_1099. We take the existing SUPPLIERS template and delete all addresses and other repetitive info and add the FRM1099 and BOX1099 fields.
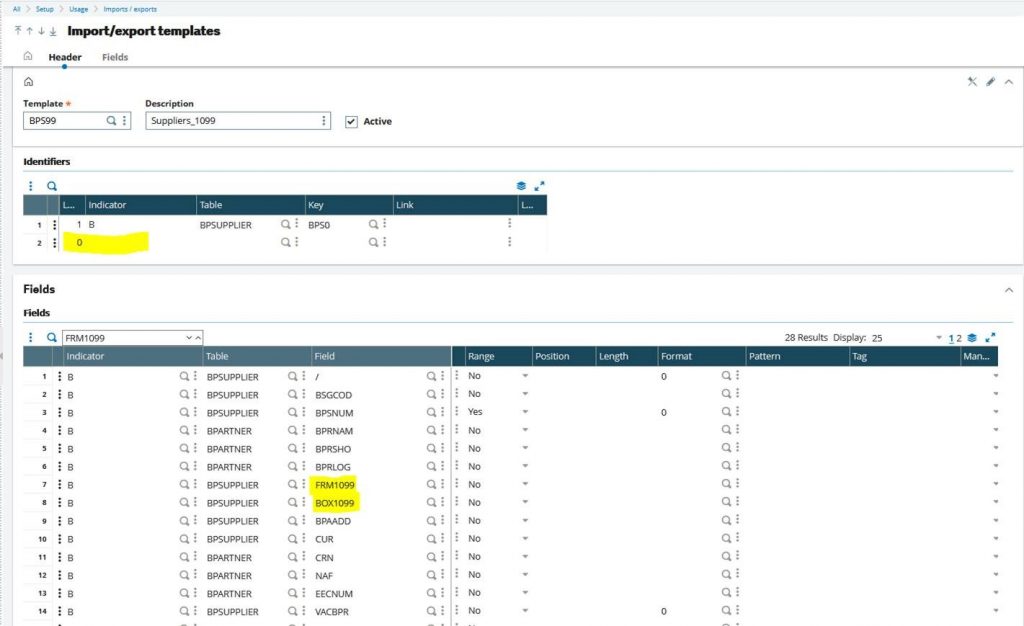
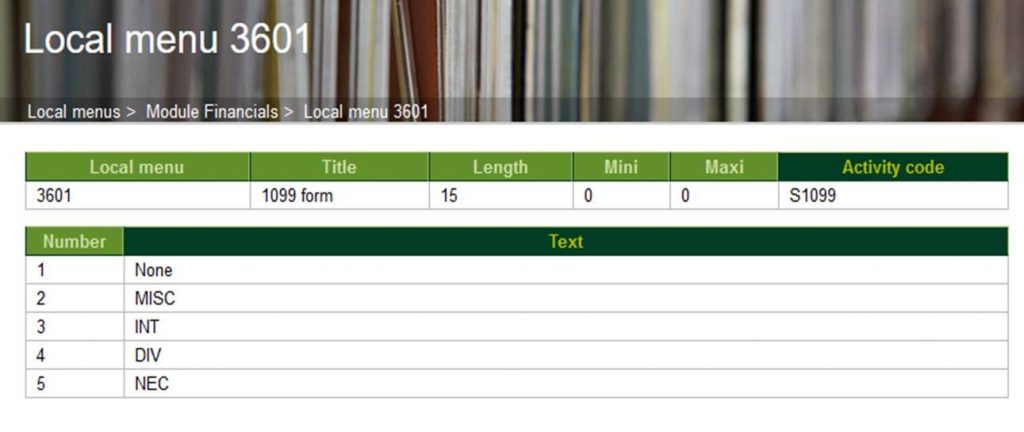
Please note that the FRM1099 is referenced in a ref table 3601. For information on how to access field definitions in Sage X3, see the technical help section of the Online Help Center as referenced in this blog: How to Access the Sage X3 Online Help Center.
Here is the screenshot of the template just created:
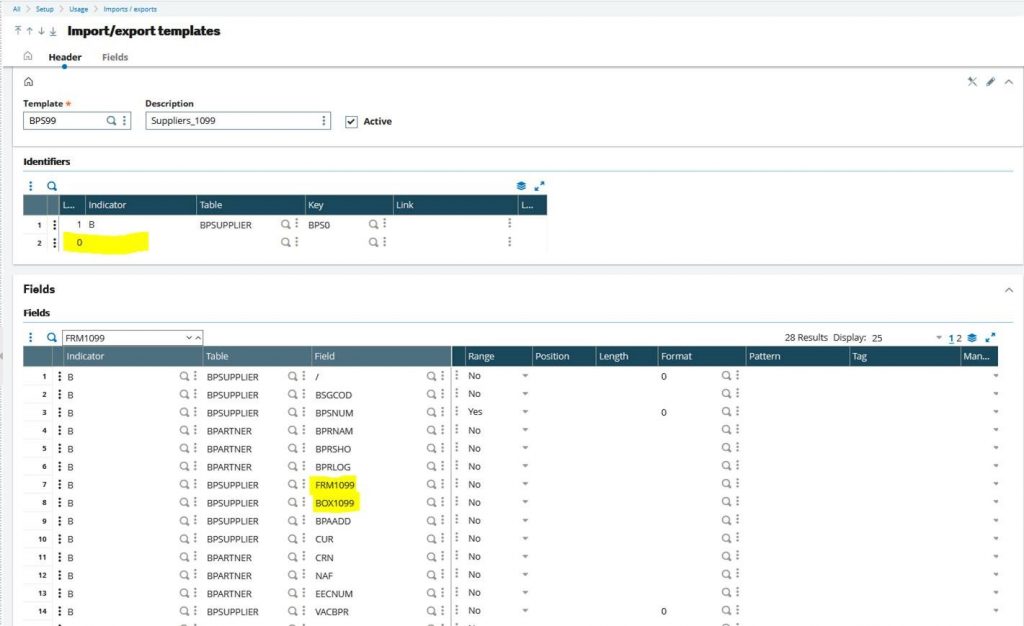
The template is flagged as “update”, so it will overwrite the info for the files with no other modifications of the data not changed.
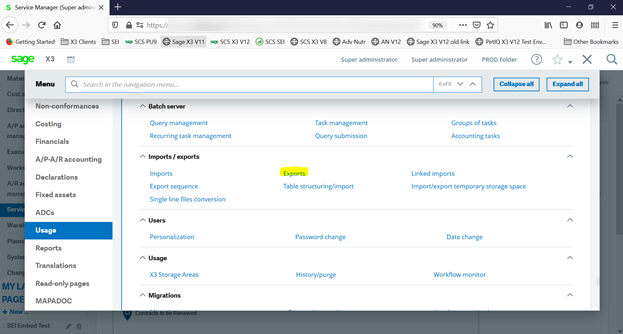
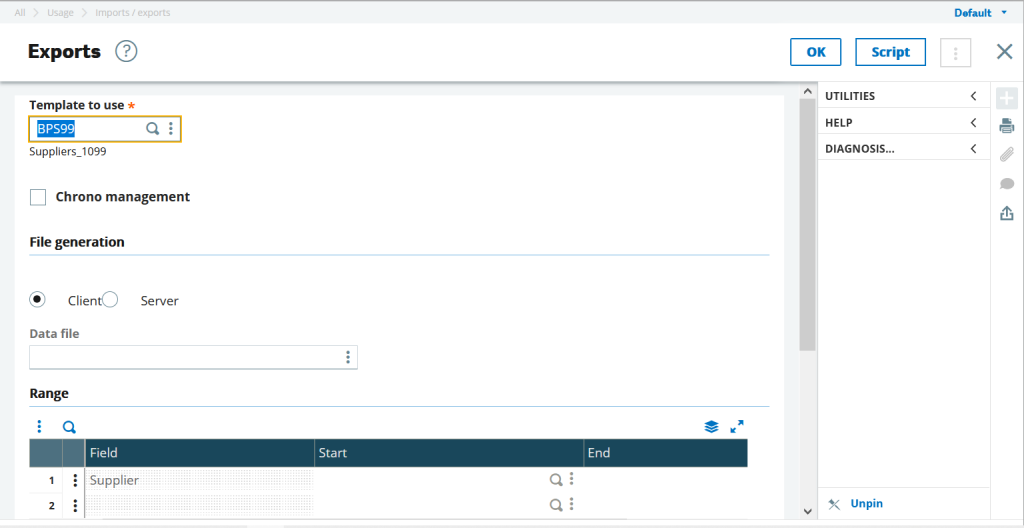
After the template is created, go to Usage / Export, and run it as an Excel or CSV export:
Upon execution of the export and making the necessary changes, you can save the field as delimited text:
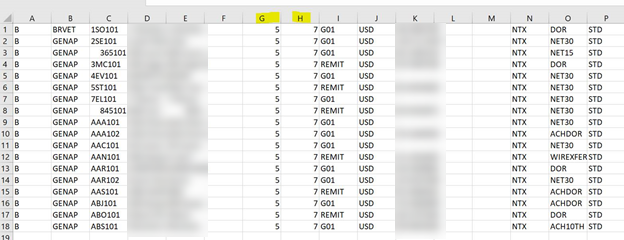
Please note that you will have to open the .csv file in Notepad++ or a similar editor and replace the “,” with semicolon “;” prior to importing the template. We can use Excel to edit the fields:
Go back to Sage X3 and re-import the file:
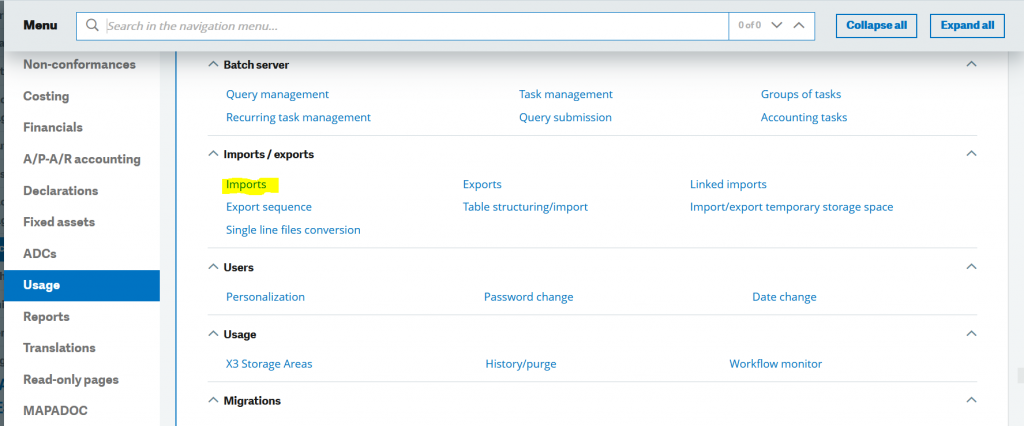
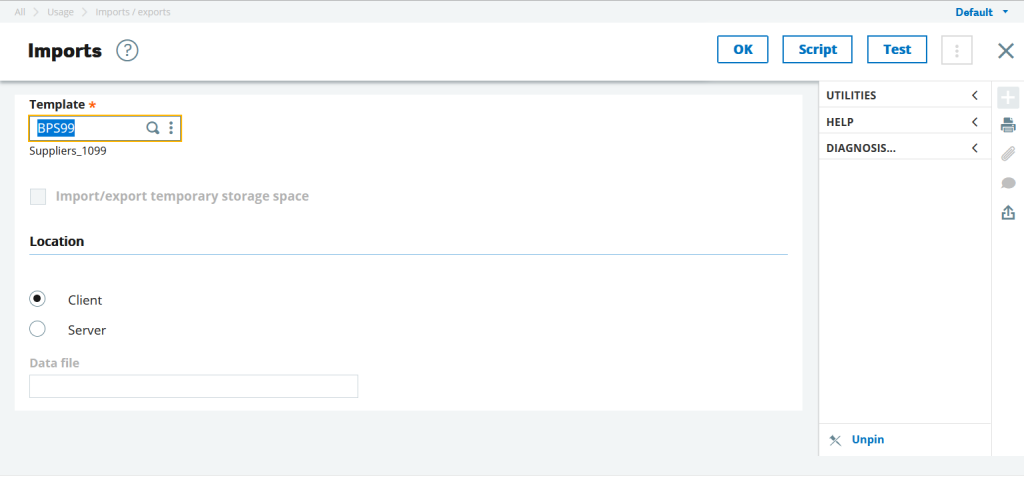
The file is now imported, here’s the log:
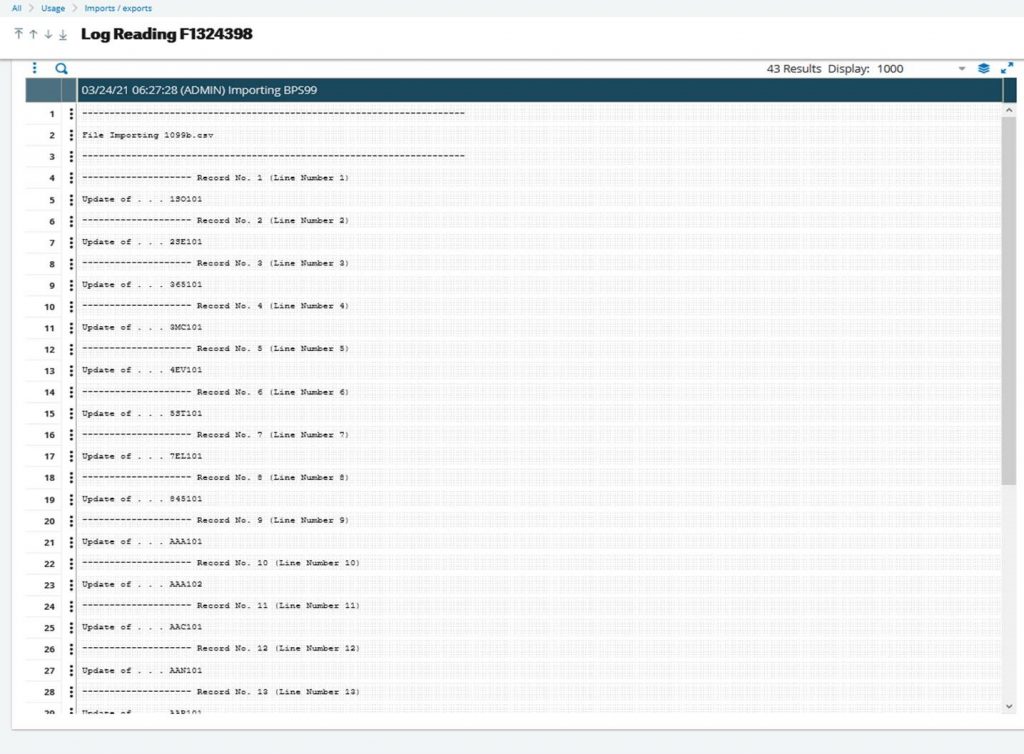
As a final step, review the vendors to make sure that it all looks good:
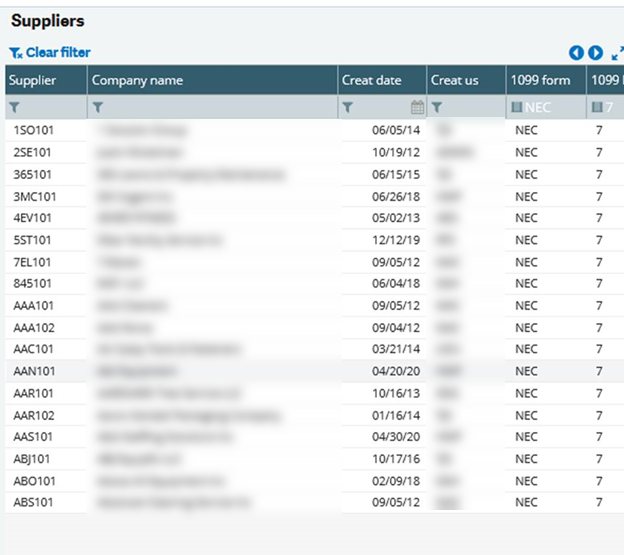
For more information on importing data to update fields in Sage X3, or for any other Sage X3 questions, please contact us.


